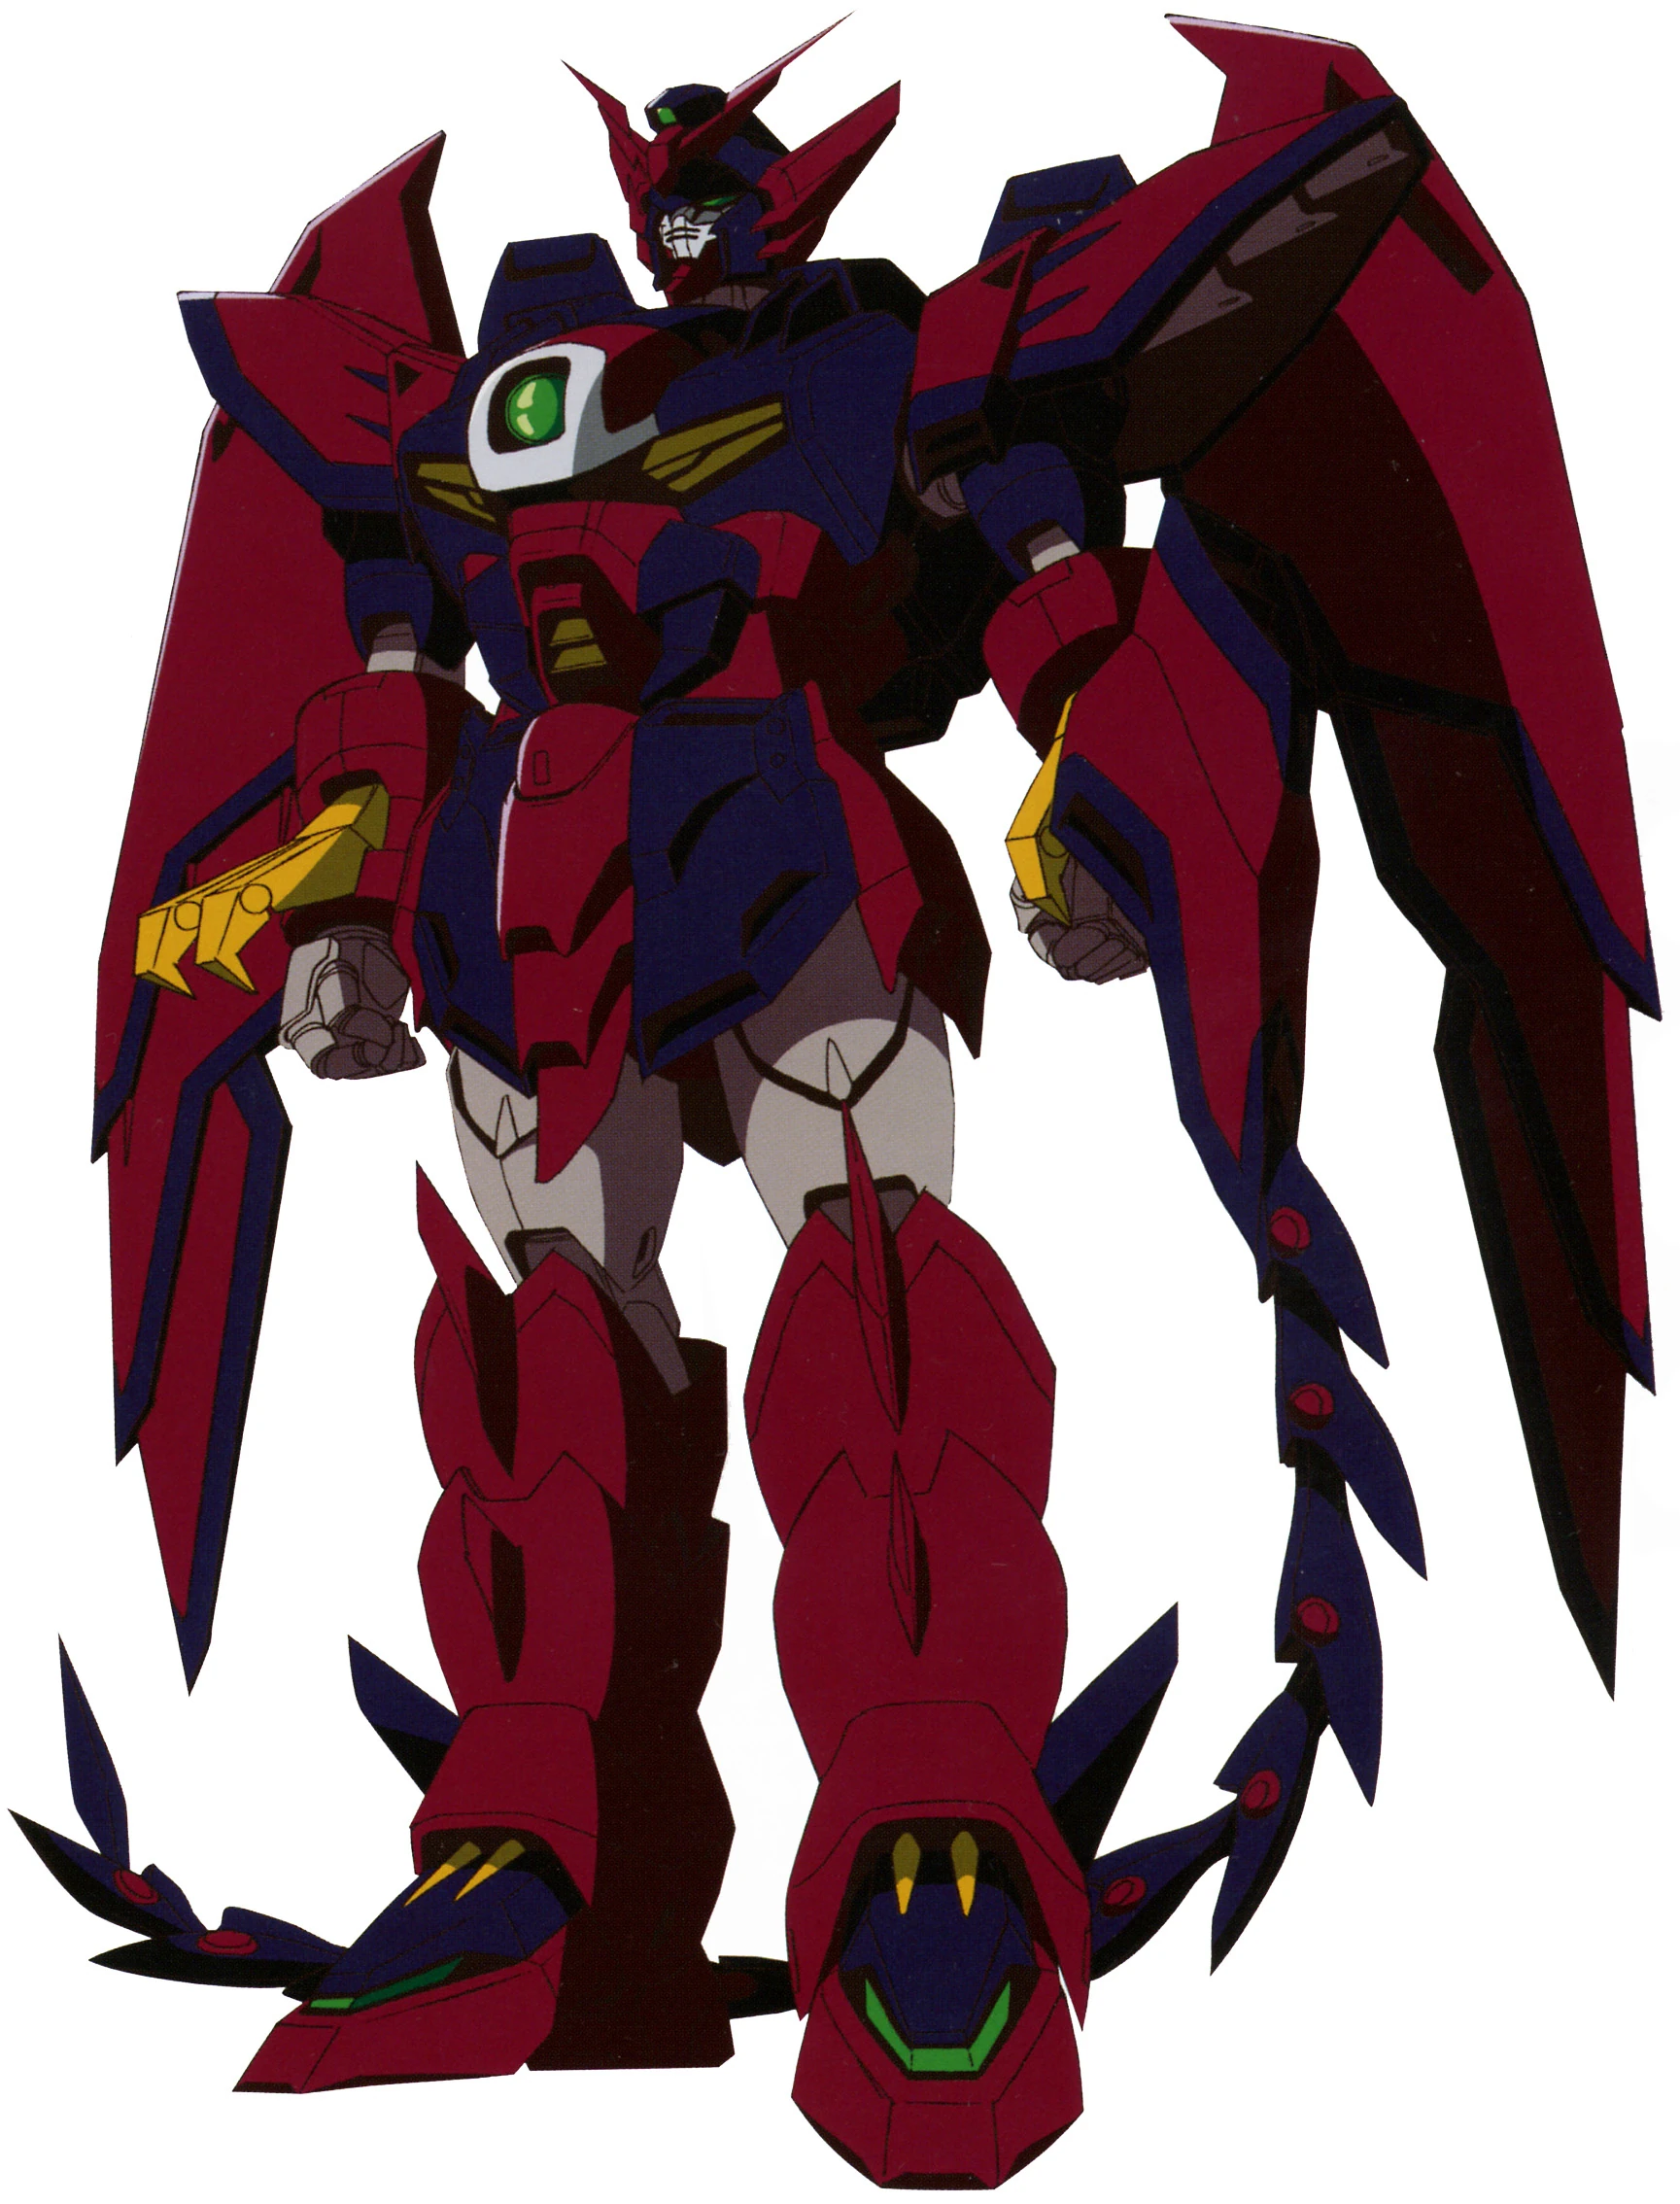
So today I'm talking about fabrication. One of the major features of the Gundam Epyon is its ability to transform from mobile suit mode:
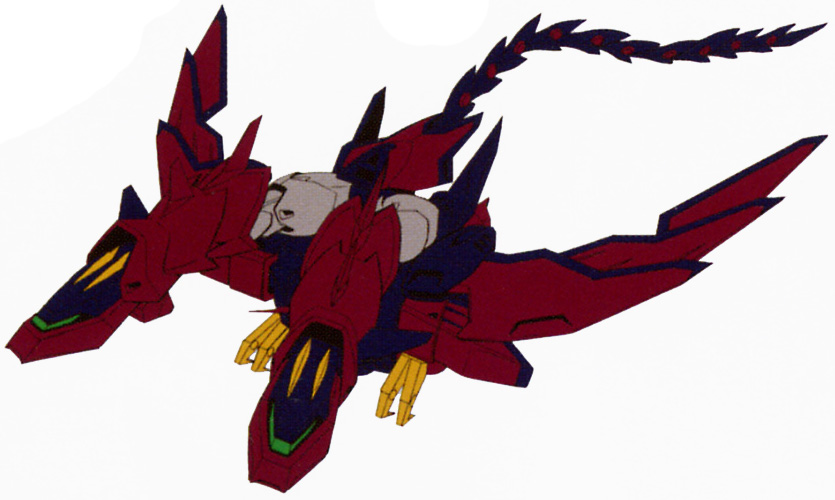
to a twin-headed dragon style mobile armor:
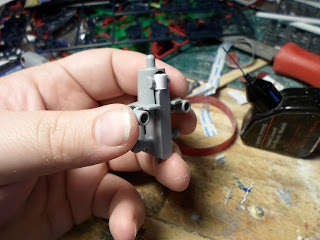
I used a series of styrene tubing I built up a central section that would pass up through the assembly, and then glued a section of 1/4" styrene block into the space behind it. This combination provided a solid base to firmly attach everything together and effectively remove the entire transformation mechanism.
There were 2 other sections that I chose to make non-moving, the elbow joints. See in the standard model the elbows are made by joining 2 pvc joint pieces so that it will have a 2 axis range of movement. While this is nice, it doesn't help for this project. So I went to work building replacement joints that would be glued into place.
I started with segments of 1/4" styrene blocks and drilled out holes to accommodate the mounting pegs of the fore arms. I then passed segments of tubing through the upper portion of the blocks that would match the mounting holes in the upper arm. I added some groove slats to the back side of the sections to add some visual detail. With the parts glued in place, some paint finished the fabrication.
to a twin-headed dragon style mobile armor:
This gimmick is carried over to the model itself and is managed by way a
splitting hip/waist assembly. As far a gimmick trick it's a nice setup,
but for my purposes it creates some issues. Specifically the risk of
the hinge joint causing the electrical connections to be broken after
assembly of the model. So I had to address this by either gluing the
hinge shut or reinforcing it. I elected to do both:
I used a series of styrene tubing I built up a central section that would pass up through the assembly, and then glued a section of 1/4" styrene block into the space behind it. This combination provided a solid base to firmly attach everything together and effectively remove the entire transformation mechanism.
There were 2 other sections that I chose to make non-moving, the elbow joints. See in the standard model the elbows are made by joining 2 pvc joint pieces so that it will have a 2 axis range of movement. While this is nice, it doesn't help for this project. So I went to work building replacement joints that would be glued into place.


0 comments:
Post a Comment